A step-by-step way to check and fix this on a MacBook Pro running macOS High Sierra.
Step 1: Start in macOS Recovery (the correct way)
Turn the Mac fully off.
Press the power button, then immediately hold:
Command (⌘) + R
Keep holding until you see the Apple logo or a spinning globe.
You should now see the macOS Utilities screen.
If you already see this screen, you’re in the right place.
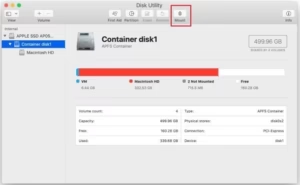
Step 2: Open Disk Utility and show all drives
This is the most commonly missed step.
Click Disk Utility, then Continue
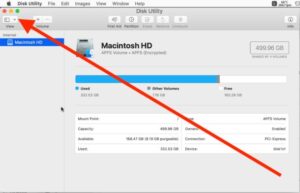
At the top menu bar, click View
Select Show All Devices
This reveals hidden drives by default.
What to look for:
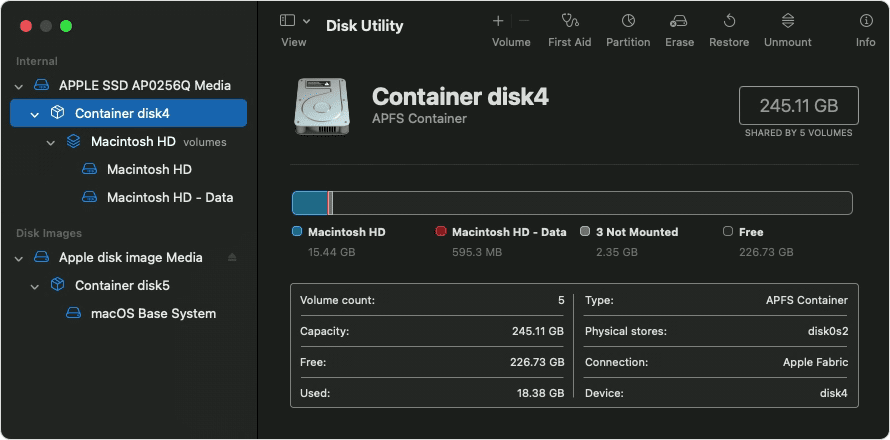
On the left-hand side, look for:
An internal physical drive (often named something like:
“APPLE SSD…”
“Internal”
“Macintosh HD” (greyed out or missing is common)
If you now see an internal drive, that’s a good sign.
Step 3: If the internal drive appears
Select the topmost internal drive (not just a volume underneath it)
Click Erase
Use these settings:
Name: Macintosh HD
Format: APFS
(If APFS fails, try Mac OS Extended (Journaled))Scheme: GUID Partition Map
Click Erase
Once it completes:
Quit Disk Utility
Choose Reinstall macOS
The installer should now see the drive normally.
Step 4: If NO internal drive appears at all
This usually points to a hardware issue, not something you caused.
Common causes:
Failing or dead internal hard drive / SSD
Loose internal drive cable (very common on older MacBook Pros)
Drive not powering up
You can confirm this by:
If Disk Utility shows nothing internal at all, even after “Show All Devices”
At this point:
The Mac itself is fine
The storage has likely failed
Step 5: Your options (no Apple Store required)
You still don’t need to bin it.
Best home-friendly option
Replace the internal drive with a new SSD
(These are inexpensive and massively speed up older Macs)
Temporary workaround
Install macOS onto an external USB drive
Boot from it and keep using the Mac
Both options avoid an Apple Store completely.